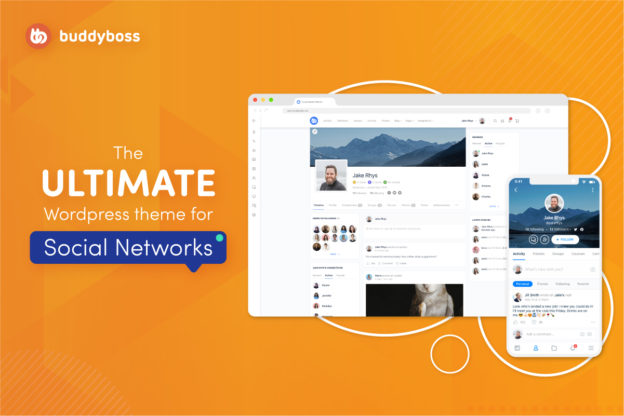
When you install BuddyPress into your WordPress site, it comes with the BuddyPress default theme. This is set up this way so that as soon as you install BuddyPress, you can immediately use it without having to install and run a theme you’d have to download somewhere else.
However, you are not limited to this theme. There are a lot of other BuddyPress themes that you can download and customize to fit your site’s design. You can find premium BuddyPress themes right here on BuddyBoss. You can find additional themes at BuddyPress.org. Installing and activating them is not that difficult.
How to install a BuddyPress theme:
- Download the theme you would like to use onto your computer and remember where you saved it.
- Using your decompression program of choice (e.g. Winzip), unzip the file that you just downloaded.
- Open your preferred FTP (File Transfer Protocol) program.
- Connect to your Web server via FTP.
- Upload the theme folder to your Web server. This should go into the directory wp-content/themes/ within the WordPress installation directory on your Web server.
Note: Your custom theme will be located at wp-content/themes, but the default BuddyPress theme will remain at wp-content/plugins/buddypress/bp-themes/bp-default. Do not delete the default theme as this will make upgrading your site very difficult. The default theme acts as a parent theme, while the theme you install acts as a child theme.
How to activate your new theme
- Log into to your WordPress dashboard.
- Click on Appearance > Themes. Small thumbnails of each theme will be displayed.
- Click on the “Activate Link” to activate your chosen theme on your site.
- Check if the theme has been loaded and is displaying correctly by going to your site’s main page.
Aside from themes, another tool that you can use to customize BuddyPress are widgets. I will discuss this on the next post, so do watch out or that.
Want us to install a theme for you?
Contact us today. Our standard rate is $100/hr and a theme install is usually billed at 1 hour.


 © All rights reserved, BUDDYBOSS LLC 2024


